Replacing 4AGE Cast Plug Gaskets
Ever find that you've got pasty yellow or red gunk around the spark plugs in your 4AGE? It's time for you to replace your cast plug gaskets! How exciting!
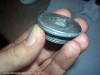
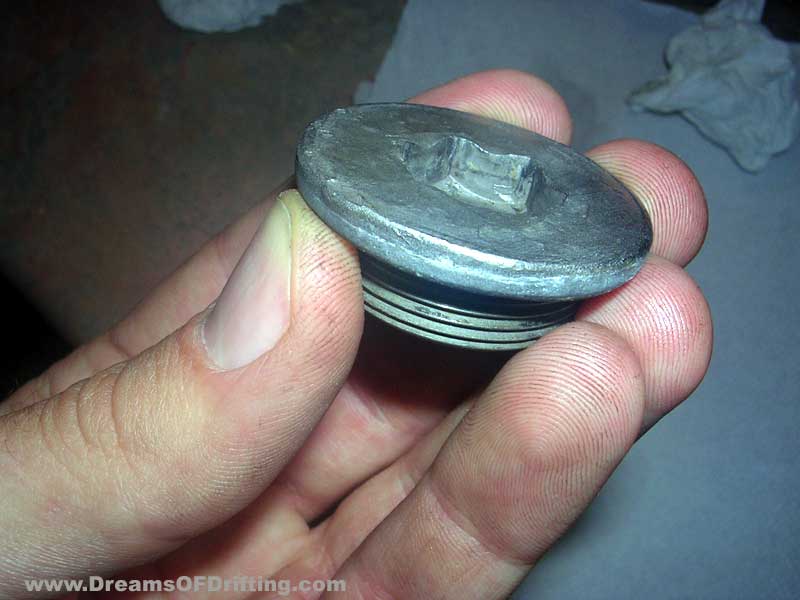
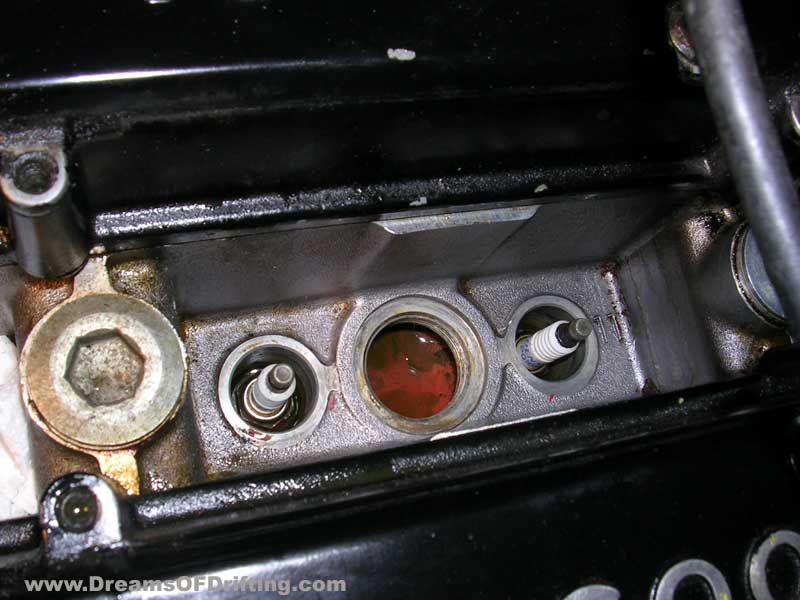
You'll find one cast plug in between the no.1 and no.2 spark plugs, and another in between the no.3 and no.4 spark plugs. Those plugs, which look like they'll need a giant allen-key to be turned, are put in place to plug holes used during the casting process when the engine head was being manufactured. Under them are passages which coolant flows through while the engine is running.
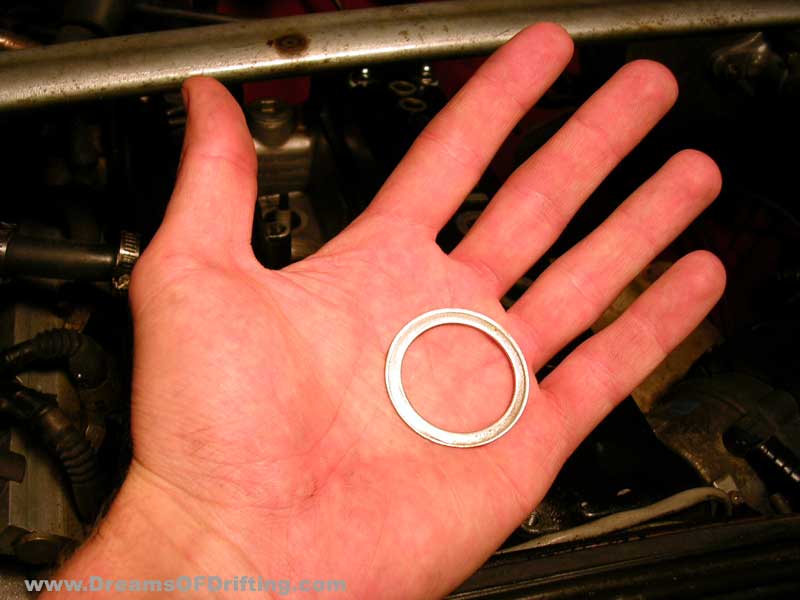
From the factory, these plugs are sealed water-tight using an aluminum washer that gets sandwiched between it and the head. Unfortunately, as time passes the seal is lost and coolant can begin to seep past the washer, up through the threads, and gather around the spark plugs. Now that it's exposed and sitting on a hot engine, the moisture in the leaked coolant will evaporate, leaving a pasty mess bearing the color of whatever coolant you use.
Fixing this mild coolant leak sounds simple...but can be more of a pain that you'd ever expect. Depending on mechanical inclination of you the reader, I'll split this into two parts...
The quick directions:
*working on a stone cold engine*
- clean area thoroughly
- drain radiator
- remove cast plug
- remove old aluminum washer
- clean area again
- replace aluminum washer
- apply a coating of gasket maker/sealant to the cast plug threads (extremely important)
- reinstall cast plug
- refill radiator
- give time to let sealant cure
- bleed air out of the coolant system
- have a beer
The not-so-quick-because-of-all-the-details directions:
The idea is to replace the aluminum washer with a new unit (easily ordered from any Toyota dealership)...BUT getting the plugs out to begin with is where the trouble lies.
The Tool
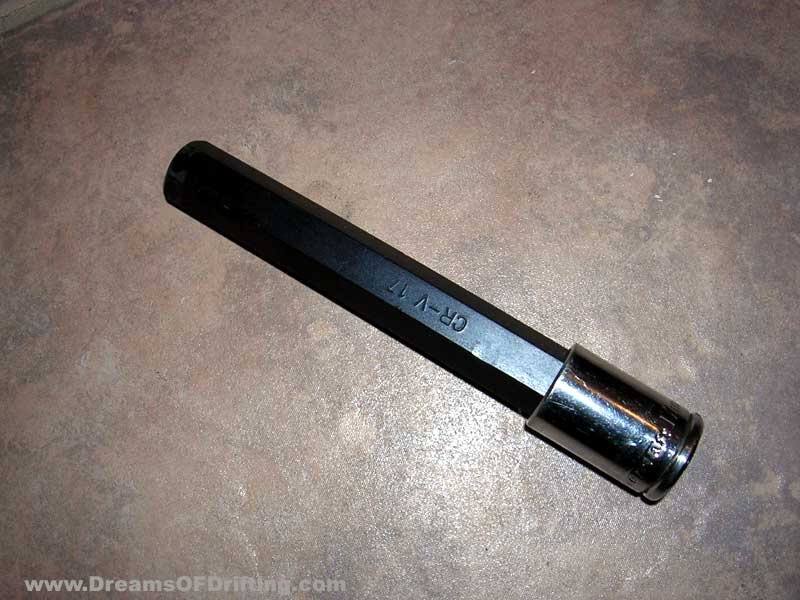
The plugs call for a 17mm allen key. This is unfortunate because all the mainstream tool suppliers (Napa, Sears, and most other parts stores) only go as big as 16mm allen-key sockets for on-shelf supply. Go figure.
You have a couple options, however...
First off, I've been told that some VW's require a 17mm allen key tool for either the filler or drain plug in the transmission, so you should be able to track one down if you're lucky enough to live by a VW specialty store.
Second option, see if you can find a 17mm allen-key socket from an alternative tool source...for Canadians that usually means one place; PRINCESS AUTO! It just so happens that earlier today before writing this article, I stopped by Princess Auto and came across an allen-key socket set with sizes ranging all the way up to 19mm. They didn't have this set during the four months leading up to me writing this page, so I'm assuming it's a new addition to their inventory. Cost was around $24 CAN.
Third option, and the biggest pain the butt, is to find a HUGE allen-key, and cut it for use in a 17mm socket. I'm really good at not finding tools I need WHEN I need them, so at the time this was the only option I had. Princess Auto was also the only place that sold a set of allen keys that went as big as 17mm. Cost for the set was around $17 CAN. Using an angle grinder, I cut the elbow off the 17mm unit and ended up with the tool you see below...

The Procedure
The first thing is to be sure you're working on a stone cold engine. The plugs can be extremely difficult to remove, so I figure it's best to attempt their first removal when they're not expanded due to heat.
Clean the area around the cast plug before getting started. You'll be opening up a hole that leads to the coolant in the head, so you don't want to let any crud fall into it.
BEFORE you try to remove the plug, drain the radiator of it's coolant. If you don't do this before hand, it will fill the spark plug journal of the head...trust me on this one.
Be VERY careful not to strip the head of the cast plug. You do that, and there's little hope of you ever getting it out aside from spending hours with drill and a steady hand. Make use of a breaker bar if possible.
Once the plug is out, remove the aluminum washer and thoroughly clean the threads on the plug itself and the threads in the head. Use a small wire brush if needed.
Replace the aluminum washer with a new unit. Next apply gasket maker/sealant to the threads of the cast plug. This is a crucial step, as the aluminum washer may not provide a strong enough seal to keep the coolant from leaking again. I've learned this the hard way as well.
Carefully thread the plug back into the head by hand. Don't use the allen key tool to do this, as you'll run the risk of cross-threading...which would be very very bad. Afterwards, tighten the plug to spec using a torque wrench.
The final step is to bleed the air out of the cooling system. It would probably be best if you let the sealant that you put onto the plug cure for a couple hours before doing this.
Now...smile and have a beer. Aren't old cars FUN?!
Good luck!
Migs

Dreams of Drifting Copyright © 01/2000 Chris Migallo
all rights reserved